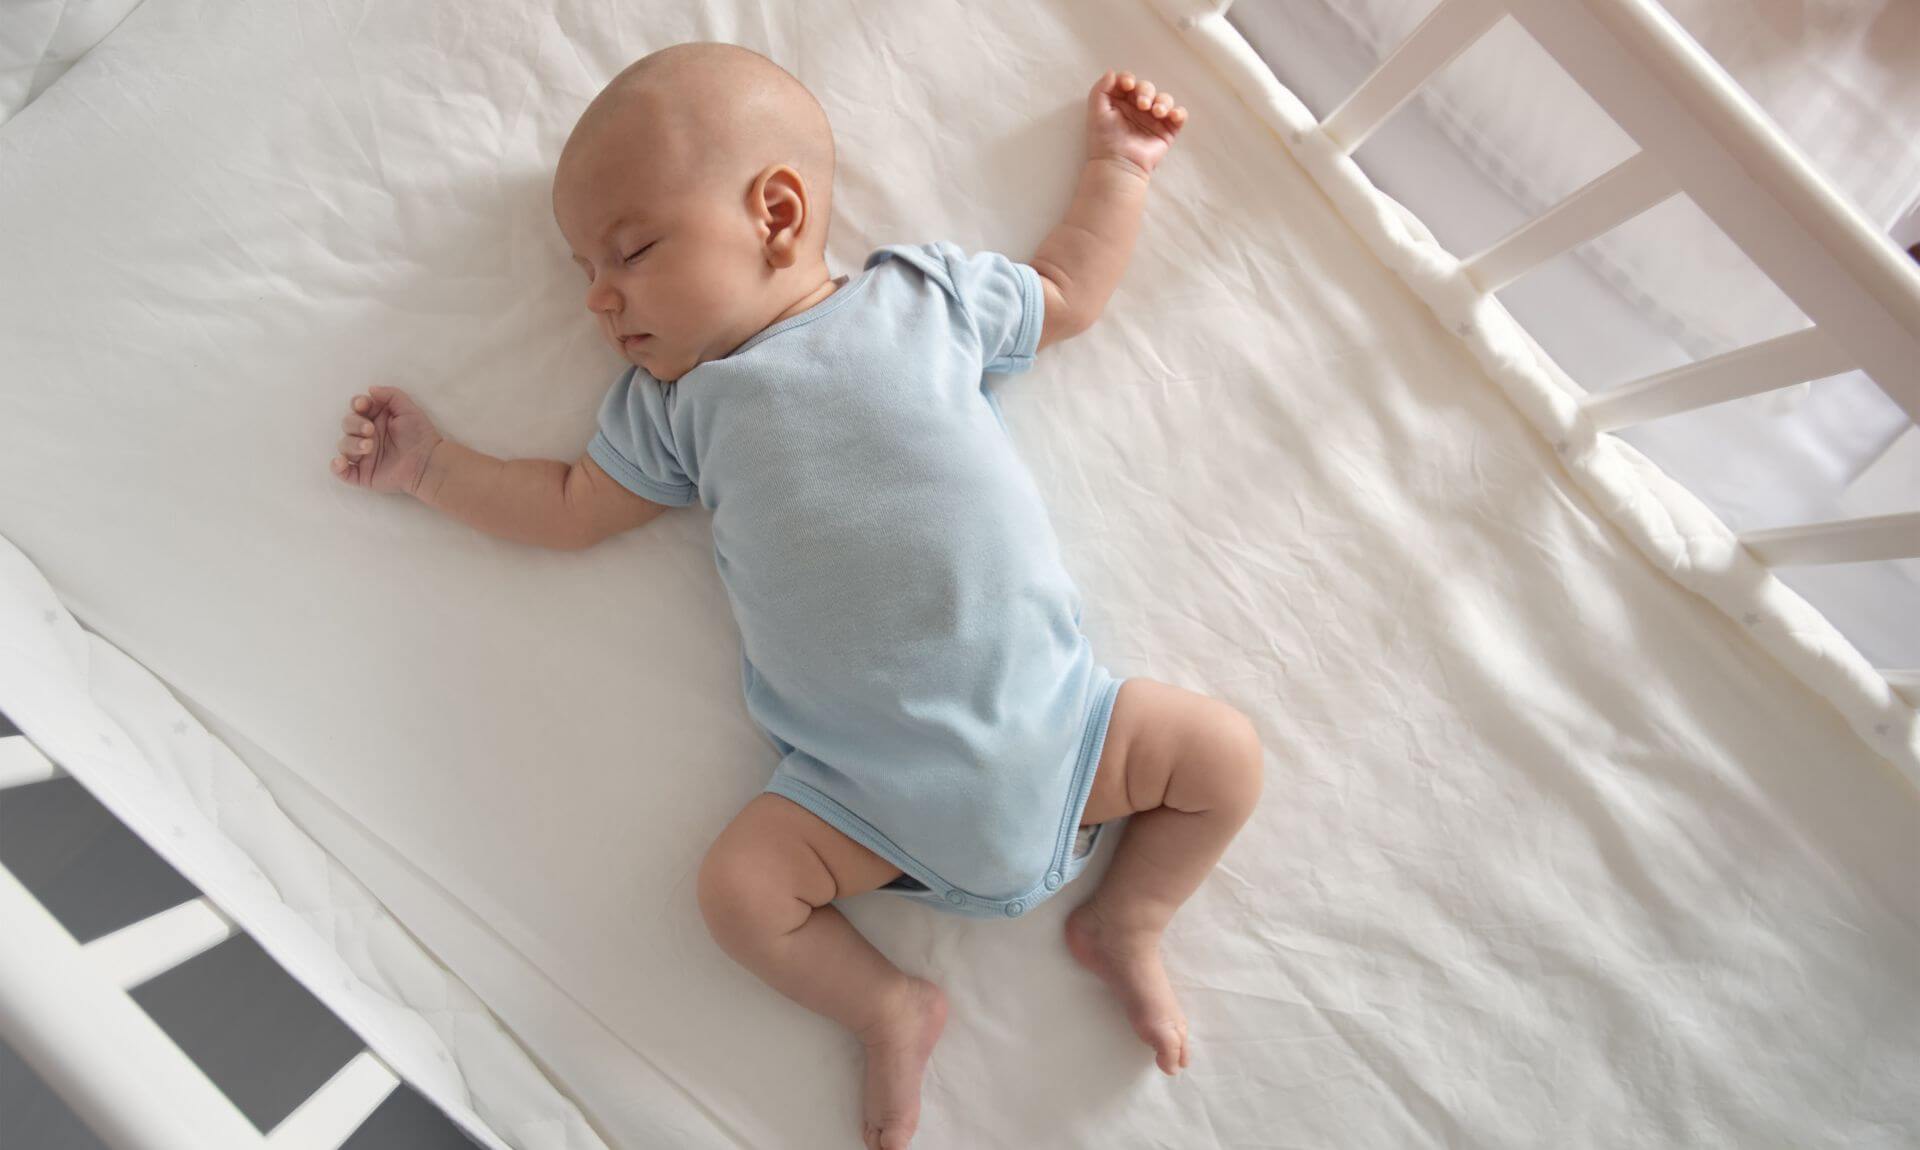
5 Diaper Changing Station Ideas That Will Make You a Dirty Diaper Destroyer

A diaper changing station is one of those things you don’t think much about until you’re standing in the middle of the night, holding a squirming baby, wondering where on earth you put the wipes.
Getting this space right matters more than it might seem. Newborns need changing anywhere from 8 to 12 times a day, and that number doesn’t drop off quickly. A well thought out changing station saves your back, your sanity, and probably a fair few clean outfits. Below is what actually makes a changing station work, plus five layouts to suit different homes, budgets and stages of babyhood.
What Makes a Good Diaper Changing Station
The best setup isn’t necessarily the fanciest one, it’s the one that’s stocked, safe, and close enough to where you actually spend your time. A lot of parents set up a beautiful station in the nursery, only to end up changing every nappy on a mat in the living room because that’s where the baby actually is. It’s worth being honest with yourself about that before you commit to a spot.
Whatever surface you choose, try to keep these within easy reach so you’re never leaning away from your baby mid-change:
- Nappies in at least two sizes (babies grow fast, and you don’t want to be caught out)
- Barrier or nappy rash cream
- Cotton wool and warm water, or fragrance-free wipes
- A couple of muslin cloths or flannels
- Spare vests and sleepsuits, at least two sizes up from what baby’s currently wearing
- A firm, supportive changing mat with raised edges or a safety strap
- Spare mat covers, because accidents happen
- A lidded bin or nappy disposal system, ideally one that seals in odour
- Something to jingle or squeak to keep baby occupied for those thirty seconds
If you’re using cloth nappies you’ll need more storage close by for clean ones and a wet bag for the used ones. If your baby has reflux or eczema, you might also want a small stash of whatever your health visitor or GP has recommended, kept in the same spot so you’re not hunting for it at 3am.
A quick word on safety
Falls from changing tables send a surprising number of babies to A&E every year, so it’s worth taking a moment on this. Never leave your baby unattended on a raised changing surface, not even for the few seconds it takes to grab a fresh nappy from the next room. If you need to step away, take your baby with you, or put them safely on the floor first. Always use the safety strap if your changing table has one, and keep one hand on your baby at all times once they start rolling, which can happen earlier than you’d expect. Check the weight limit on any changing unit before you buy, and stop using an elevated changer once your baby is wriggly enough to make it feel unsafe, plenty of parents switch to a mat on the floor by six or seven months for exactly this reason.
5 Diaper Changing Station Ideas
Here are five layouts that work well in real homes, along with who each one tends to suit.
1. The Traditional Changing Table
This is the classic setup: a dedicated unit with a changing surface on top and open shelves or drawers underneath. It gives you a generous, purpose-built space to lay your baby down, and the storage right beneath means everything you need is within arm’s reach.
Adding fabric baskets or small bins to the shelves keeps things from turning into a jumble. A lot of parents like to group supplies by type, nappies in one basket, creams and wipes in another, spare clothes in a third, so you’re not rummaging when your hands are full. This option works best if you have a proper nursery to dedicate the space to, since these units can be bulky.
2. The Wall-Mounted Changing Table
If floor space is tight, a fold-down wall-mounted changer is worth a look. It tucks flat against the wall when you’re not using it and drops down to a full changing surface when you need it, which makes it a good fit for small nurseries, shared rooms, or even a corner of a bathroom.
These units are common in public changing rooms for a reason, they’re compact but sturdy. Just check the manufacturer’s stated weight limit before buying, and make sure it’s fitted securely into a wall stud rather than just plasterboard. If you’re not confident doing this yourself, it’s worth getting it installed properly, since a changing table that isn’t fixed to a solid support is a real safety risk.
3. A DIY Changing Station
If you’d rather not buy a dedicated unit, you can turn an existing piece of furniture into a changing station instead. A waist-height dresser or chest of drawers works well, top it with a proper changing mat with raised sides, and secure the mat so it can’t slide around. The drawers underneath double up as storage, which often works out roomier than a purpose-built changing table.
This is also the option that gives you the most flexibility on style, since you can pick furniture that matches the rest of the room and repurpose it once nappies are a thing of the past. Just make sure the mat is genuinely secured (double-sided tape alone often isn’t enough) and that the dresser itself is anchored to the wall with an anti-tip strap, especially once your baby starts pulling up on furniture.
4. A Corner Changing Station
For smaller nurseries or rooms where every bit of floor space counts, tucking a compact changing unit into an unused corner can be the difference between fitting one in at all or not. These units are usually narrower and don’t offer much built-in storage, so you’ll need to be a bit more creative, think a wall-mounted shelf above, or a slim rolling cart tucked beside it that holds your nappies and wipes.
It’s a practical option if space is genuinely at a premium, but do check it’s stable and doesn’t wobble once your baby starts moving about on it.
5. A Portable Folding Changing Station
A fold-flat changing mat or portable changing station is brilliant for anywhere you don’t need a permanent setup, think grandma’s house, a friend’s spare room, or even just to save you carrying the whole changing bag between floors of your own home. Because it folds away, it doesn’t hold any supplies on its own, so you’ll want a small caddy or wash bag alongside it stocked with wipes, a couple of nappies and a spare vest.
Most portable mats are wipeable and machine washable, which makes them handy for travel too. They’re not meant to replace a main changing station, but as a backup or travel option, they earn their keep.
Putting It All Together
There’s no single right answer here, it really comes down to your space, your budget, and how your baby likes to be changed (some tolerate it happily, others treat every nappy change like an Olympic event). Whichever setup you go with, keep safety at the front of your mind, keep supplies stocked and within reach, and don’t be afraid to change your approach as your baby grows and starts moving more. What works brilliantly for a newborn often needs rethinking by the time they’re rolling, sitting, or trying to make a break for it mid-change.
If you’re ever unsure whether a particular product or setup is safe for your baby’s age and stage, it’s always worth checking with your health visitor or the manufacturer’s guidelines rather than guessing.
If you enjoyed this article, take a look at some of our other pieces on baby equipment:
Share This Story, Choose Your Platform!


Latest Post


Latest News To Your Inbox
Subscribe to hear about our latest blog posts, competitions and special offers.